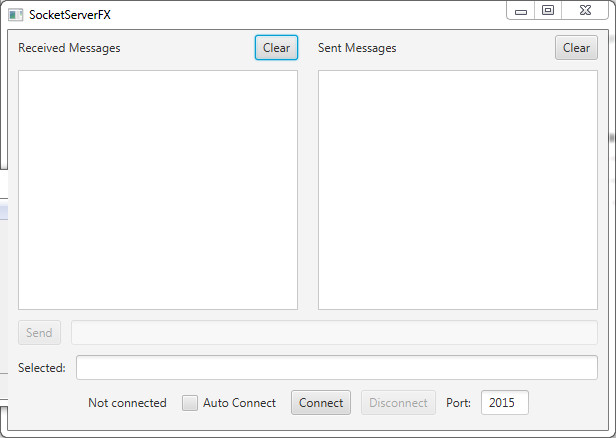
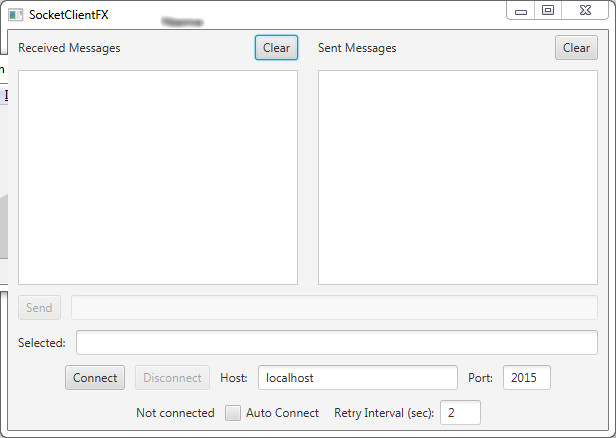
Example Signed (and Timestamped) RIAs
If your interest lies solely in getting access to a signed and
timestamped Java web application, here are two that can be run by
clicking on the images below. The SocketServerFX
and SocketClientFX
applications, when run simultaneously and connected, demonstrate
how simple text can be sent and received over sockets. For those
experimenting with Deployment
Rule Sets, these two web applications could serve as test
examples for use in managing RIA access.
|
|
|
Applications signed with a trusted certificate come with an
expiration date. At expiration, the code signer has to
re-issue the software package with with an updated certificate in
order to maintain a valid trusted signature. There are a
whole host of reasons why re-signing may be impractical; the
question becomes, is it possible to validate trusted signatures
even after they have expired, thus prolonging their
lifetime? The answer is yes by including a timestamp
verified by a Timestamp Authority. With the timestamp,
you're essentially proving that your code signing certificate was
still valid at the time of signing.
How Can Code be Signed and Timestamped?
The jarsigner utility, found in the Java Development Kit, is the mechanism used to for signing Java applications. A -tsa argument can be included on the command-line to specify a Timestamp Authority. A sample invocation from a Windows system might look something like this:
> jarsigner -keystore code-sign.jks -tsa http://timestamp.comodoca.com \
SocketServerFX.jar "jim connors's comodo ca limited id"
Enter Passphrase for keystore:
jar signed.
As the code signing certificate referenced above comes from Comodo, one of many trusted certificate authorities, we use their Timestamp Authority to authorize the signature.
How Can You Verify That a Jar File Has Been Signed?
Perhaps not the most elegant solution, you can utilize additional command-line arguments provided for by the jarsigner utility (-verify -verbose -certs) and search for a timestamp that is formatted in a specific way, as demonstrated by the following sample invocation:
> jarsigner -verify -verbose -certs SocketServerFX.jar | findstr signed
[entry was signed on 3/1/16 8:48 AM]
[entry was signed on 3/1/16 8:48 AM]
. . .
[entry was signed on 3/1/16 8:48 AM]
If you see text of the form "[entry was signed on ...]",
then you know the jar file has been signed and timestamped.
If the jar is not timestamped, no such output will appear.
How Can you Integrate Signing and Timestamping into a NetBeans Project?
Within the NetBeans IDE, if you'd like to sign and timestamp your application automatically as part of your build process, you can do so by making a few modifications to your NetBeans project.
1. Add the following properties onto your project's project.properties file:By running the sign-jars ant target, your project's jar file will be signed and timestampped.
# Properties for custom signjar
jnlp.signjar.alias=<your certificate alias>
jnlp.signjar.keystore=<keystore file containing certificate private key>
jnlp.signjar.storepass=<keystore passphrase>
jnlp.signjar.keypass=<private key passphrase>
jnlp.signing.tsaurl=<URL for TimeStamp Authority>
2. Add the following target to the project's build.xml file.
This should be placed at the bottom of the file but before the </projects> directive.
<!-- Custom Code Timestamping using Ant's signjar instead of NetBeans -->
<target name="sign-jars" depends="-check-signing-possible">
<echo message="Using custom code for signing and timestamping via build.xml..."/>
<signjar
alias="${jnlp.signjar.alias}"
storepass="${jnlp.signjar.storepass}"
keystore="${jnlp.signjar.keystore}"
keypass="${jnlp.signjar.keypass}"
tsaurl="${jnlp.signing.tsaurl}">
<path>
<fileset dir="dist" includes="*.jar" />
</path>
</signjar>
</target>